I have worn sarees all my life. My mother wore them. My grandmother wore them. But something changed in the last few years. Women started wearing brooches on their sarees. I saw it at weddings. I saw it at parties. I saw it on social media. It looked so good. I wanted one too.
But I did not want to spend money on a store bought brooch. They cost too much. They look nice but they are not special. Everyone has the same ones. So I decided to make my own. I am not a craft person. I cannot sew well. But I tried anyway. And it worked. It was not hard at all.
Now I make brooches for all my sarees. I give them as gifts too. My friends ask me how I do it. They think I am very talented. But the truth is very simple. Anyone can do this. You just need some cloth and glue. That is all.
I want to share what I have learned. This is not a professional guide. This is just what works for me. I hope it works for you too.
What I Use?
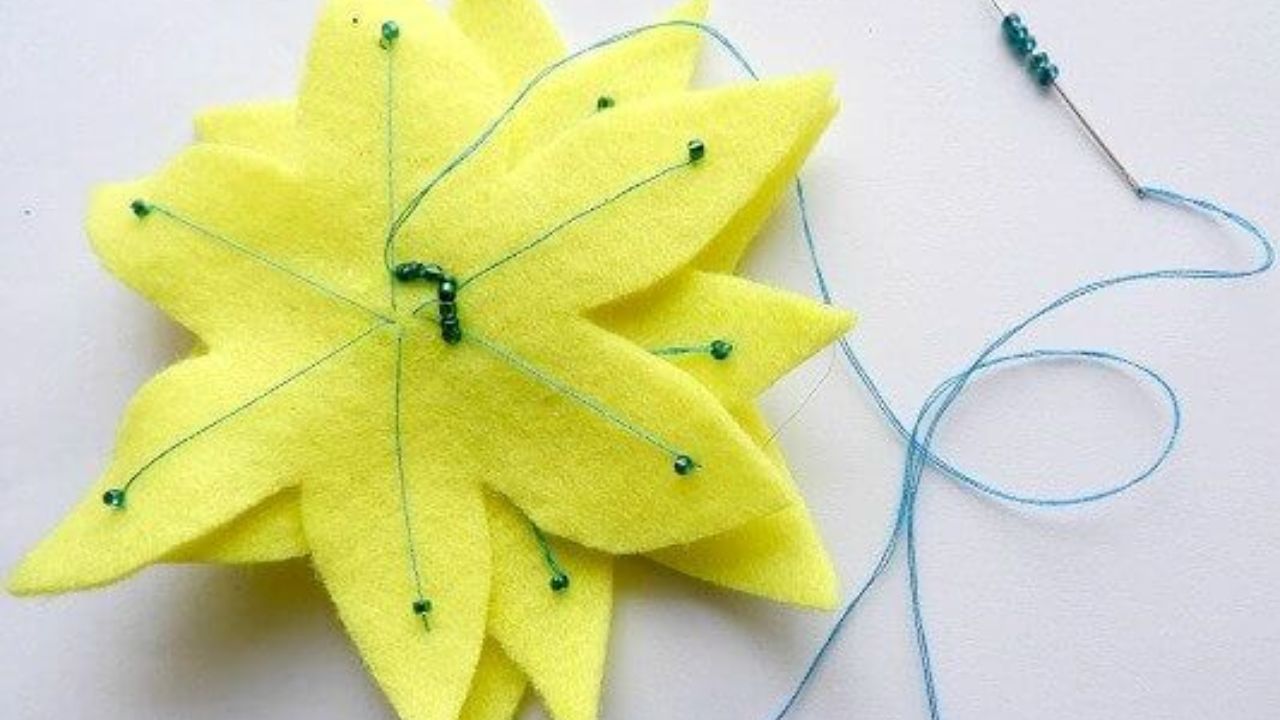
I keep my supplies very basic. I do not buy expensive things. I look around my house first. Old sarees are perfect. You know those sarees you never wear anymore? Cut them up. Use that fabric. It is already beautiful. It already has nice colors and borders. I also use old dupattas. Sometimes I use leftover cloth from a tailor.
I have a pair of scissors at home. Nothing fancy. Just regular scissors. I have a candle too. I use it for melting the edges. You have to be careful with this. Keep water nearby. I learned that the easy diy fabric flower brooch ideas for sarees.
Hot glue is my best friend. I do not sew. I cannot sew straight. So I just glue everything. It holds very well. I also have small beads and buttons. My grandmother had a button box. I still use those buttons. They are old but they look great on flowers.
Felt is important. I get small sheets of felt from the craft store. They are cheap. I cut circles from them. These circles go on the back of my flowers. They make the flower sit flat. They also protect the saree fabric. The pin does not poke through.
And of course I need brooch pins. These are also from the craft store. They cost very little. I buy many at once so I always have them ready.
Read Also: Easy Embroidery Designs For Blouse Sleeves
My First Flower
The first brooch I made was a rolled flower. I saw a video online. A woman was making a rose from a strip of cloth. It looked so simple. I tried it that same day.
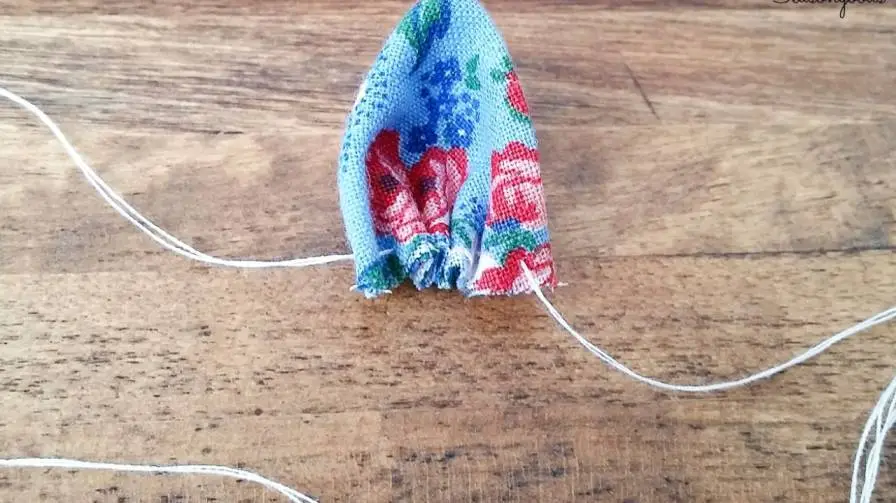
I cut a long strip of fabric. It was about two fingers wide. I used an old orange saree. The color was bright. I took a needle and thread. I did a loose stitch along the edge of the strip. I did not care about perfect stitches. I just wanted them to be there. Then I pulled the thread gently. The fabric started to bunch up. It looked like a ruffle. I kept pulling until it was all gathered.
Then I started rolling. I rolled from one end. I rolled tight at first. This made the center of the rose. Then I rolled the rest around it. I made sure the bottom stayed even. When I reached the end I stitched it in place. It looked like a real rose. I could not believe it.
I glued a felt circle on the bottom. I attached the pin. I wore it on my saree the next day. My friend asked me where I bought it. She did not believe I made it myself. That made me very happy.
The Heat Method
After making a few rolled flowers I wanted to try something else. I wanted a flower with open petals. Like a real flower. I learned about the heat method.
I cut petal shapes from fabric. I used synthetic fabric for this. Cotton does not work well. Synthetic fabric melts nicely. I cut about eight petals. Some were big. Some were small. I made a cardboard template first. I drew a teardrop shape on cardboard. I cut it out. Then I traced it on the fabric. This gave me even petals.
Then came the heat part. I lit a candle. I held a petal near the flame. Not too close. Just close enough for the heat to reach. The edge of the petal curled. It also sealed. The fabric did not fray. This was the magic part. The heat transformed the flat fabric into a curved petal. It looked like a real flower petal.
I did this for all the petals. I kept a bowl of water next to me. Safety first.
I arranged the petals on a felt circle. I put glue in the center. I started with the big petals on the outside. I overlapped them. Then I added the medium ones. Then the small ones in the center. It looked like a layered flower. I put a bead in the very center. The bead covered the glue marks.
This brooch became my favorite. It looked expensive. People thought I bought it from a designer store. But I made it in thirty minutes.
Ribbon Brooches
I also make brooches from ribbon. Satin ribbon is very easy to use. It gives a smooth look. The shine is very nice on sarees.
I cut ribbon into small pieces. Each piece is about four inches long. I fold each piece in half. The fold creates a loop. The two ends meet at the bottom. I put a drop of glue at the bottom to hold the loop together. I make many such loops.
Then I take a felt circle. I arrange the loops on it. I place them in a circle. I overlap each loop slightly. The loops look like petals. I glue them one by one. I work from the outside in. Once all loops are glued I have a flower. The center is empty. I put a pearl there. Or a fancy button. Something shiny.
The back gets a felt circle and a pin. This brooch is very quick to make. I can make one in ten minutes. I have made these for my daughter too. She pins them on her school bag. They look cute.
No Sewing At All
Some people do not like glue. Some people do not like sewing. I have a method for them too. This method has no sewing and minimal gluing.
I cut circles from fabric. Different sizes. I use a glass to trace the circles. A small glass for small circles. A big glass for big circles.
I take one circle and fold it in half. Then I fold it in half again. Now I have a triangle. The curved edge becomes a petal. I do this with all the circles.
I take a felt base. I put a little glue in the center. I place the folded circles on the glue. The pointy ends go in the middle. The curved edges face out. I keep adding circles. I make many layers. The flower gets full and round. It looks like a pom pom flower.
I cover the center with a button. The button hides all the pointy ends. This flower is very sturdy. It does not have delicate petals. It survives travel. I often wear this one to crowded events.
Where To Put The Brooch?
I have tried different placements. The shoulder is the classic spot. On the pallu. Near the shoulder. It keeps the pallu from slipping too. This is the safest choice. It looks good on every saree.
The pleats are another good spot. The front pleats. Place the brooch on the top of the pleats. This draws the eye to the center. It adds weight to the front. It looks very elegant.
I also like placing a brooch near the waist. This works with sarees that have wide borders. The brooch sits on the border. It adds detail to that area. This is a less common placement. People notice it more.
Sometimes I wear two brooches. One on the shoulder. One on the waist. They match. This creates a complete look. It is like wearing a set of easy diy fabric flower brooch ideas for sarees.
You May Also Like: Crochet Blouse Patterns For Beginners
Safety Tips For Your Saree
I have damaged a saree before. It was a silk saree. My brooch pin made a small hole. I was very upset. Now I am more careful. I will tell you what I do.
Always use a felt backing. The felt circle protects the fabric. The pin goes through the felt first. Then it goes through the saree. The felt cushions the fabric. It prevents holes.
Pin only the top layer. Do not push the pin through many layers. Just catch the top layer of the saree. This is enough to hold the brooch. The saree stays safe.
Do not pin in the same place every time. Change the spot. This prevents wear and tear on one area.
Check your pin regularly. Is it smooth? Are there rough edges? A rough pin will snag your saree. File it down if needed.
Remove the brooch before washing your saree. This should be obvious but I have forgotten before. The pin rusted. The fabric stained. Learn from my mistake.
Making It Your Own
You do not have to copy me exactly. Make your own style. I will tell you what I do differently.
I add beads sometimes. I sew them around the petals. It adds sparkle. It makes the flower look more rich. It is good for wedding sarees.
I use lace sometimes. I put lace between the petals. It gives a soft romantic feel. It works well with pastel sarees.
I mix fabrics. Satin and organza together. Cotton and silk together. The contrast is beautiful. It gives texture.
I make small brooches for the hair too. They match my saree brooch. This creates a coordinated look. I wear them to family functions.
I also give these as gifts. I make a brooch that matches my friend's saree color. She is always happy. It is a thoughtful gift. It does not cost much money. But it shows I put in effort.
Storing Your Brooches
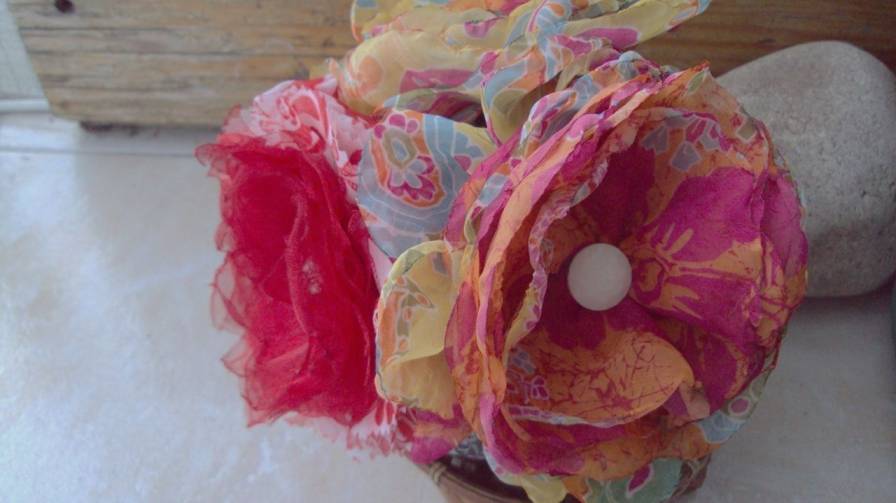
- I store my brooches carefully. They are delicate. The petals can crush. I keep them flat in a box. I use an old jewellery box. I line it with cotton cloth. The brooches rest flat on the cloth.
- I do not stack them on top of each other. The petals can get pressed. The shape can change. Each brooch gets its own small space.
- Keep them away from heat. Do not keep them near a window. Direct sunlight fades the fabric. The colors become dull.
- Keep them away from moisture. Water can ruin the glue. The petals can lose their shape. A dry place is best.
Final Words
Making brooches has become a small hobby for me. It started as a way to save money. Now I do it because I enjoy it. It is relaxing. It is creative. It gives me something beautiful to wear.
I make mistakes sometimes. The glue gets messy. The petals are uneven. The flower does not look right. I just start over. It takes very little time. It does not waste much fabric.
The best part is wearing something I made. When people compliment my saree I feel proud. I tell them I made the brooch myself. They are always impressed. They think I am very talented. But I am not. I just tried. That is all it takes.
Best Recycled Craft Ideas For School Projects
Upcycled Coffee Mug with Cricut Joy