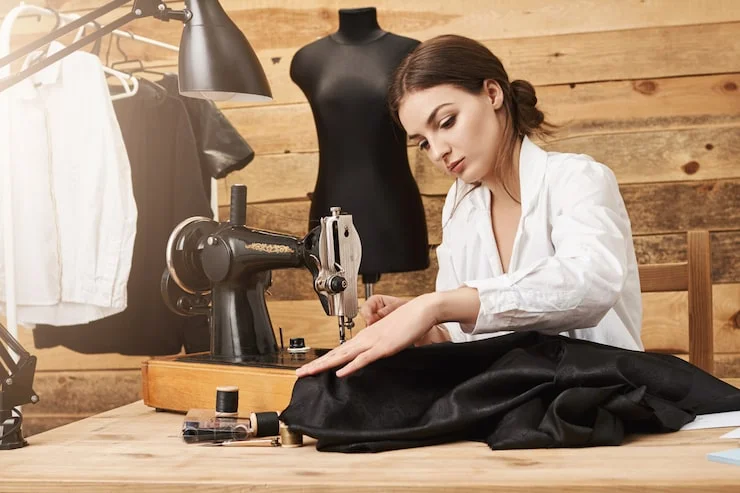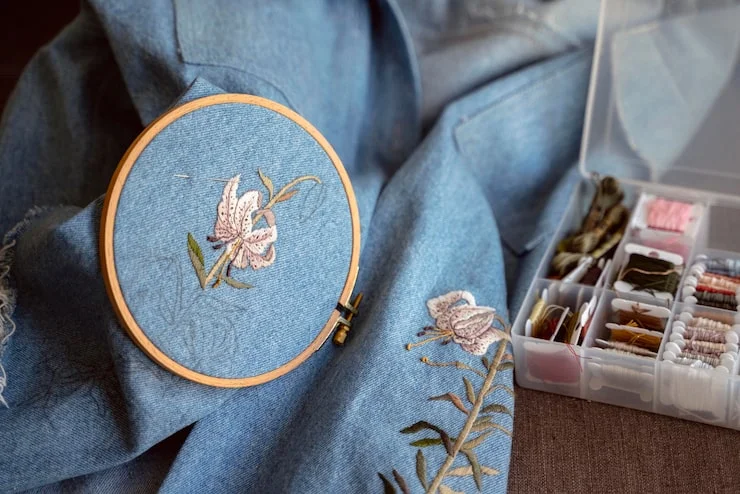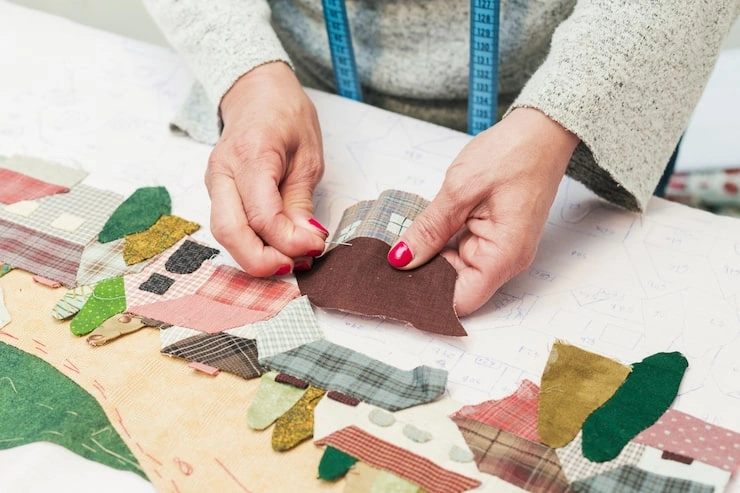
Do you have old clothes with holes? Do you have fabric pieces left from other projects? Do not throw them away. You can make something new and beautiful. Patchwork is a simple way to fix clothes or make them look fresh. This article gives you clear ideas. You do not need a fancy sewing machine. You do not need years of practice. You only need basic tools and easy patchwork clothing ideas.
Patchwork is not new. Our grandmothers did it. They fixed worn-out knees and elbows. They made quilts from old shirts. Today, we do it for fun and style. We also do it to save money and reduce waste. Making patchwork clothes is good for your wallet. It is also good for the planet. When you patch a shirt, you keep it out of the trash. You give it a second life.
This guide will show you many ways to add patchwork to your clothes. We will talk about tools. We will talk about fabric. We will show you simple steps. We will also answer common questions. By the end, you will feel ready to start your own project. Let us begin.
What You Need to Start?
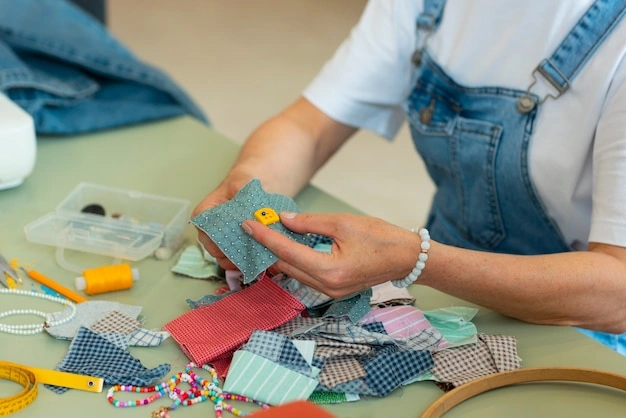
Before you start, gather your supplies. You do not need much. Most of these items are already in your home.
The Basic List
- A pair of sharp scissors
- Sewing needles
- Thread that matches your fabric
- Pins or small clips
- An iron
- A flat table or desk
Fabric Choices
You can use any soft cloth. Old cotton shirts work well. Denim from old jeans is strong. Linen from old tablecloths is good. Flannel from pajamas is soft. You can even use fabric scraps from craft stores. The best fabric for beginners is cotton. It is easy to cut. It stays flat when you iron it. It does not stretch much.
Tools for Marking
You need something to mark your lines. Tailor's chalk is good. A bar of soap works too. You can also use a pencil that washes off. Do not use a regular pen. The ink will stay on your cloth forever.
Read Also: Easy Embroidery Designs For Blouse Sleeves
10 Easy Patchwork Ideas
Here are ten simple ideas. You can try them this weekend. Each idea is easy. Each idea uses small pieces of fabric.
1. Patch a Hole in a Knee
Kids' pants always get holes in the knees. You can fix this. Cut a square piece of fabric. Make it bigger than the hole. Pin it over the hole. Sew around the edges. Use a straight stitch. Go back and forth a few times. The patch will hold strong. Your child can keep wearing the pants.
2. Add a Pocket
Do you have a plain shirt? Add a patchwork pocket. Cut a rectangle of fabric. Fold the edges under. Iron them flat. Sew the pocket to the front of your shirt. Use a different color. The new pocket becomes a fun detail.
3. Fix an Elbow
Jackets and sweaters get thin at the elbows. Cut two oval patches. Put one on each elbow. Sew them on with a blanket stitch. This looks nice. It also makes the jacket last longer.
4. Make a Skirt from Scraps
Take many small pieces of cloth. Sew them together side by side. Make one big piece. Fold this piece into a tube. Add an elastic waistband. Now you have a colorful skirt. This is a big project. It is good for a weekend afternoon.
5. Decorate a Collar
Cut a long strip of printed fabric. Fold it in half. Iron it. Sew it over the collar of a plain shirt. This is a small change. It makes a big difference.
6. Color-Block a Sleeve
Take a sleeve from an old shirt. Cut it off. Sew a different color sleeve in its place. Make sure the seams match. This gives your shirt a whole new look.
7. Fix Jeans at the Thigh
Jeans rub together at the thighs. They get thin. Cut two large patches. Put one on each inner thigh. Use strong thread. Sew a square shape with an X inside. This is very strong. It will last a long time.
8. Put Flowers on a Tote Bag
Cut flower shapes from bright fabric. Sew them onto a plain canvas bag. Use a small zigzag stitch around each petal. The bag becomes pretty. It becomes unique.
9. Mend a Sheet
Sheets tear in the middle. Cut a big square of new fabric. Put it under the tear. Sew around the edges. Sew straight lines across the whole square. The sheet is fixed. It will last for months more.
10. Make a Patchwork Belt
Cut long strips of different fabrics. Sew them end to end. Fold the long strip in half. Sew the edges. Turn it inside out. Add a buckle. You have a belt nobody else has.
How to Prepare Your Fabric?
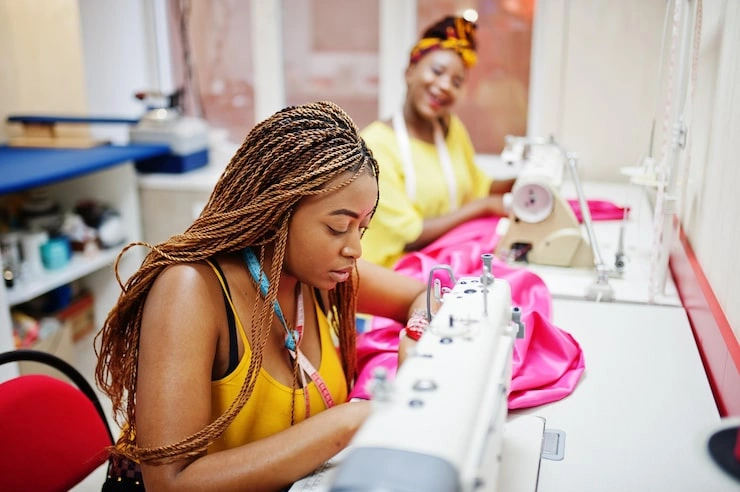
Preparation is important. It saves you trouble later. Follow these rules.
Wash Everything First
New fabric shrinks. Old fabric has dust. Wash everything before you cut it. Dry it too. Iron it flat. This way your project will not change shape after you sew.
Cut Straight Lines
Use a ruler. Use your chalk or soap. Draw a straight line. Cut along the line. Straight pieces are easier to sew. They fit together better.
Iron as You Go
Iron every seam after you sew it. This makes the cloth lay flat. It makes your stitches look neat. It is a small step. It makes your work look professional.
You May Also Like: Crochet Blouse Patterns For Beginners
Step-by-Step Project: A Patchwork Tote Bag
Let us make a bag. This project is good for beginners. It takes about two hours. You need scraps of fabric. You also need a piece for the lining.
Step 1: Cut Your Squares
Cut twelve squares. Each square should be five inches wide and five inches tall. Use different fabrics. Mix colors and prints.
Step 2: Sew the Squares Together
Take two squares. Put their right sides together. Sew along one edge. Open them up. Iron the seam flat. Add a third square. Keep going. Make a row of six squares. Make a second row of easy patchwork clothing ideas.
Step 3: Join the Rows
Put the two rows together. Match the seams. Pin them so they do not shift. Sew along the long edge. Iron the new seam flat. You now have one big piece.
Step 4: Cut the Lining
Cut the same size piece from your lining fabric. It does not have to be fancy. Old cotton bedsheets work well.
Step 5: Sew the Bag Shape
Fold your patchwork piece in half. The pretty sides face inward. Sew the two side edges. Leave the top open. Do the same with the lining piece. Leave a small hole in one side of the lining. You will use this to turn the bag right side out.
Step 6: Make the Handles
Cut two long strips of fabric. Each strip should be four inches wide and eighteen inches long. Fold each strip in half. Iron. Fold the raw edges into the middle. Iron again. Sew down both long edges of each strap.
Step 7: Put It All Together
Turn your patchwork bag right side out. Do not turn the lining. Put the lining inside the patchwork part. The right sides are together. Pin the handles between the layers at the top. Sew all the way around the top edge.
Step 8: Finish It
Pull the whole thing through the hole in the lining. Push the corners out. Sew the hole in the lining closed by hand. Push the lining down into the bag. Iron the top edge. You are done.
Tips for Making Your Patchwork Last
Patchwork is fun. You also want your work to hold up. Here is how.
Use Small Stitches
Big stitches come out easily. Small stitches hold tight. Sew forward, then backward at the start and end. This locks the thread in place.
Match Your Thread
Use thread that matches your main fabric. The stitches will blend in. If you want the stitches to show, use a contrasting color. Both are fine.
Reinforce the Edges
The edges of your patch will fray. You can stop this. Fold the edge under before you sew. Or sew a zigzag stitch right on the edge.
Do Not Pull Too Hard
When you sew, let the machine do the work. Do not pull the fabric. This makes the seams pucker. Your work will lay flat if you are gentle.
Wash with Care
Patchwork items like gentle washes. Use cold water. Do not use a hot dryer. Hang them to dry if you can. This keeps the fabric from shrinking.
Fixing Common Patchwork Mistakes
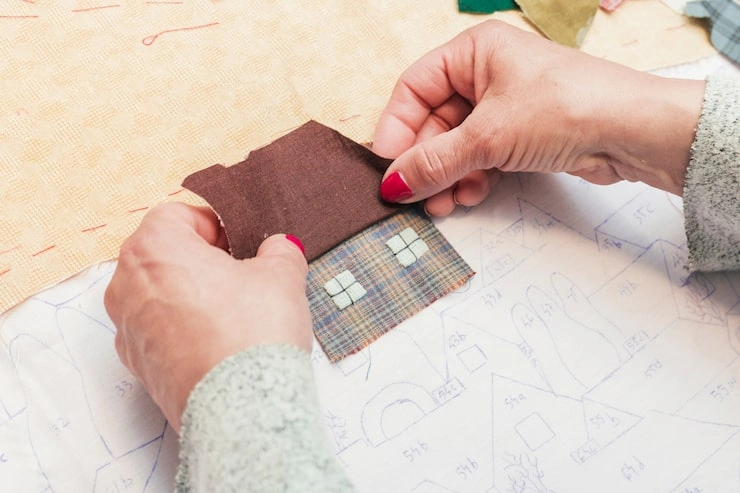
Everyone makes mistakes. Here is how to fix them.
My Seams Do Not Match
This happens often. The pieces shift while sewing. Use more pins. Put pins every two inches. Pin at the start, middle, and end. It takes more time. It gives better results.
The Fabric Is Fraying
This is normal. Use a zigzag stitch on the raw edges. You can also use a fabric glue on the edges. Let it dry before you sew. The glue stops the threads from coming out.
The Thread Keeps Breaking
Your needle might be dull. Change the needle. Your tension might be too tight. Loosen it a little. Test on a scrap piece first.
The Patch Looks Wrinkled
Iron it again. Use steam. Place a thin cloth over the patch. Iron over the cloth. The wrinkles will go away. The patch will sit flat.
Frequently Asked Questions
1. Can I hand sew patchwork?
Yes. Hand sewing is slower. It is also relaxing. You can do it on the couch. You do not need a machine. Use a running stitch or a backstitch. Both work well.
2. What is the best fabric for beginners?
Cotton is the best. It is soft. It is easy to cut. It does not stretch. It holds its shape. Buy fat quarters from a craft store. They are small and cheap.
3. How do I choose the colors?
Pick colors you like. Use one main color. Use two or three accent colors. You can also use one color family. Blues with blues work well. Do not use too many bright colors at once.
4. Can I patch over holes in stretchy fabric?
Yes. Use a piece of stretchy fabric for your patch. Sew with a zigzag stitch. This lets the patch move with the cloth. A straight stitch will break.
5. How do I make my patch look neat?
Iron everything. Cut straight lines. Use a ruler. Match your thread color. Keep your stitches even. These small things make a big difference.
6. Do I have to use new fabric?
No. Old fabric is great. Use clothes you no longer wear. Use bedsheets from thrift stores. Use curtain remnants. Giving old cloth a new job is the point of patchwork.
Final Thoughts
Patchwork is for everyone. You do not need to be a master sewer. You just need to start. Begin with one small patch. Fix a hole in a pair of jeans. Add a pocket to a plain T-shirt. Each small project teaches you something. Each project gives you confidence.
The best part is the joy of making. You take something broken. You make it whole again. You take something plain. You make it special. Your clothes tell a story. They show your hands made them.
So gather your fabric. Sharpen your scissors. Clear your table. Make something today. It does not have to be perfect. It just has to be yours. Your first project will be the start of something new. Happy sewing.

Study Life Hacks For College Students
Upcycled Coffee Mug with Cricut Joy