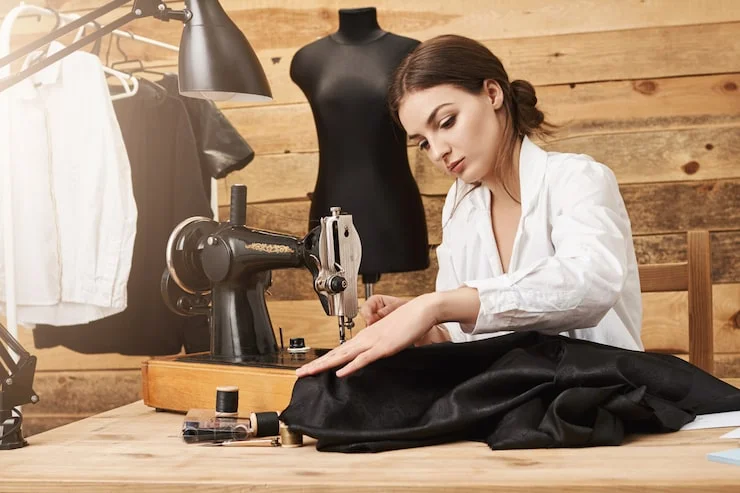
Most people think sewing your own clothes takes years of practice. That is not true. You can make clothes you actually want to wear with very basic skills. The trick is picking projects that do not need complicated steps like zippers, buttonholes, or fitted darts.
This guide shows you exactly which projects to start with and how to make beginner sewing projects for fashionable clothes.
Start With Projects That Have No Fastenings
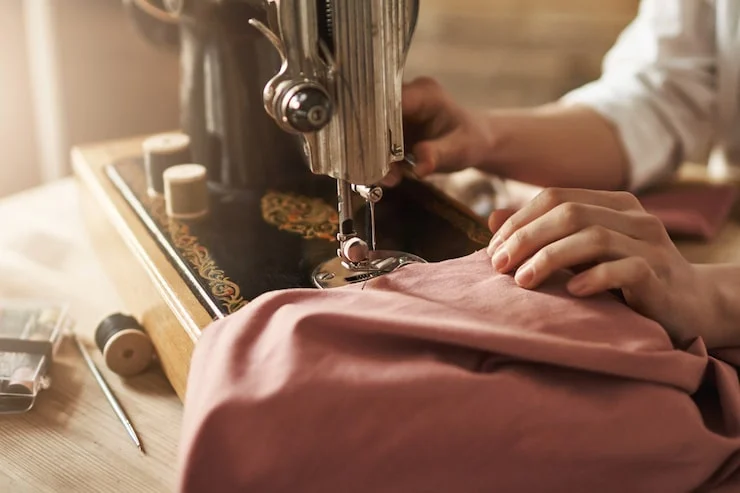
The biggest reason beginners fail is they pick patterns with zippers or buttons. These require precision and practice. Skip them entirely at first.
Look for patterns described as "slip-on" or "pull-on." These garments slide over your head or hips without any closures. Tammy Johal, a pattern designer, built her entire beginner collection around this idea. Her patterns are designed to be sewn in a couple of hours with no tricky fastenings at all .
This matters because you get to focus on basic skills: cutting fabric straight, sewing a straight seam, and finishing edges. Those three things form the foundation of everything else.
The Best Fabrics for Your First Clothes
Fabric choice makes or breaks a beginner project. Some fabrics slide around while you sew. Others fray badly. You want something stable and forgiving.
Cotton jersey is excellent for tops and dresses. It has stretch, which means it fits even if your measurements are slightly off. It also does not fray much, so you can skip some finishing steps .
Ponte roma works well for skirts and dresses. It is thicker than jersey, so it holds its shape better. It also does not curl at the edges like thinner knits .
For non-stretch projects, cotton poplin or linen are good choices. They press flat, sew easily, and do not slip .
Avoid silk, satin, chiffon, and slippery synthetics for now. They look beautiful in the store but will make you want to throw your sewing machine out the window.
Read Also: Easy Macrame With Fabric Strips
Project 1: The Shirred Dress or Top
Shirred fabric has elastic threads woven into it. When you sew with it, the fabric automatically gathers and stretches. This means you do not need to sew any elastic yourself.
You measure around your body, cut a rectangle, sew one seam, and add straps if you want them. That is the entire project .
The result looks like something you would buy at a boutique. It fits because the shirring stretches over your body. You can make a top for summer or a dress for any season .
This is the single best first project for wearable clothes. It teaches you how to measure, cut, and sew a basic seam. It also gives you something you will actually wear.
Project 2: The Maxi Skirt
A maxi skirt is essentially a long tube of fabric with an elastic waistband. You sew one long seam up the side. You fold over the top to create a channel for elastic. You thread the elastic through. Done.
The reason this works for beginners is that fit barely matters. The elastic waistband adjusts to your body. The length is the only measurement you need to get right .
Choose a fabric with some weight to it, like a cotton blend or ponte roma. Lightweight fabrics will cling and show every lump. Medium-weight fabrics drape nicely and hide imperfections.
You can make this in an afternoon. It pairs with t-shirts, tank tops, and sweaters. It works for casual days and dressed-up occasions depending on your fabric choice.
Project 3: The Camisole Top or Slip Dress
This project uses bias binding to finish the neckline and armholes. Bias binding sounds technical, but it is just a strip of fabric folded around the raw edge. You sew it in place, and it creates a clean finish.
The pattern is two rectangles for the front and back. You sew the side seams. You attach the binding. You add thin straps .
The result is a simple, elegant top that works alone in summer or layered under cardigans in winter. It teaches you how to handle curves, which is a valuable skill for more advanced projects later.
Start with a stable woven fabric like cotton lawn or double gauze. These press well and do not shift while you sew.
Project 4: The Tie-Front Top
This top wraps around your body and ties at the front or side. There are no buttons, no zippers, and no complicated shaping.
You cut two front pieces and one back piece. You sew the shoulders. You sew the side seams. You attach ties at the waist .
The tie closure means the fit is adjustable. If you gain or lose a few pounds, the top still works. This makes it forgiving for a beginner who is still learning how to measure and cut accurately.
Use a lightweight fabric like viscose or cotton voile. These drape softly and tie easily without bulky knots.
Project 5: The Stretch Midi Skirt
This is different from the maxi skirt because it uses stretch fabric and a closer fit. The elastic waistband is still there, but the skirt hugs your hips and thighs before flaring slightly at the bottom.
The key is using a fabric with at least 25% stretch, like ponte roma or a thick jersey . The stretch allows the skirt to pull on without a zipper.
You sew two side seams. You add an elastic waistband. You hem the bottom. That is it.
This project teaches you how to work with stretch fabric, which behaves differently from woven fabric. You need a ballpoint needle and a zigzag stitch, but the actual construction is simple .
Project 6: The Boxy T-Shirt
A boxy t-shirt has a relaxed fit that does not require precise shaping. You can trace an existing t-shirt that fits you well and use that as your pattern.
Lay your favorite t-shirt flat on paper. Trace around it, adding a seam allowance. Cut two pieces (front and back). Sew the shoulders. Sew the sides. Attach a neckband. Hem the sleeves and bottom .
This works because you are copying something that already fits. You are not guessing measurements. You are not adjusting a commercial pattern. You are making a copy of a garment you already know works for your body.
Use cotton jersey for this project. It is the same fabric most store-bought t-shirts use, so it behaves the way you expect.
Project 7: The Drawstring Trousers or Shorts
These are loose-fitting pants with an elastic waistband and a drawstring. They do not require fitting at the waist or hips because the elastic and drawstring adjust to your body .
You sew two leg pieces together at the crotch seam. You create a waistband channel for elastic. You add a drawstring. You hem the legs.
The crotch seam is the trickiest part, but it is just a curved seam. Practice on scrap fabric first. Once you understand how the two leg pieces fit together, the rest is straightforward.
Use a medium-weight fabric like French terry or cotton twill. These hold their shape and do not cling.
What You Actually Need to Start?
You do not need a fancy sewing machine. A basic machine with straight stitch and zigzag stitch is enough for all these projects .
You need sharp fabric scissors. Do not use them on paper. Paper dulls them.
You need pins or clips. Clips are easier for beginners because they do not leave holes in fabric and they do not stab you.
You need an iron. Pressing seams flat as you sew makes the difference between homemade-looking and professional-looking garments. Do not skip this step.
You need a seam ripper. You will make mistakes. Everyone does. A seam ripper lets you undo them without damaging the beginner sewing projects for fashionable clothes.
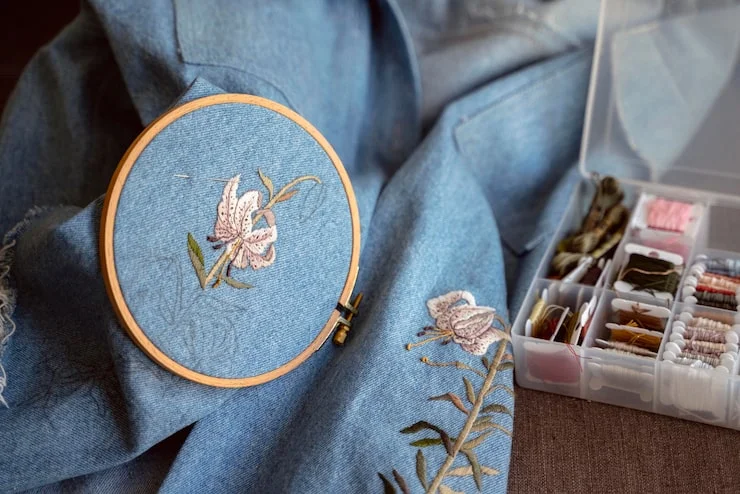
You May Also Like: Embroidery Hoop Wall Fashion Decor Ideas
How to Avoid Common Beginner Mistakes?
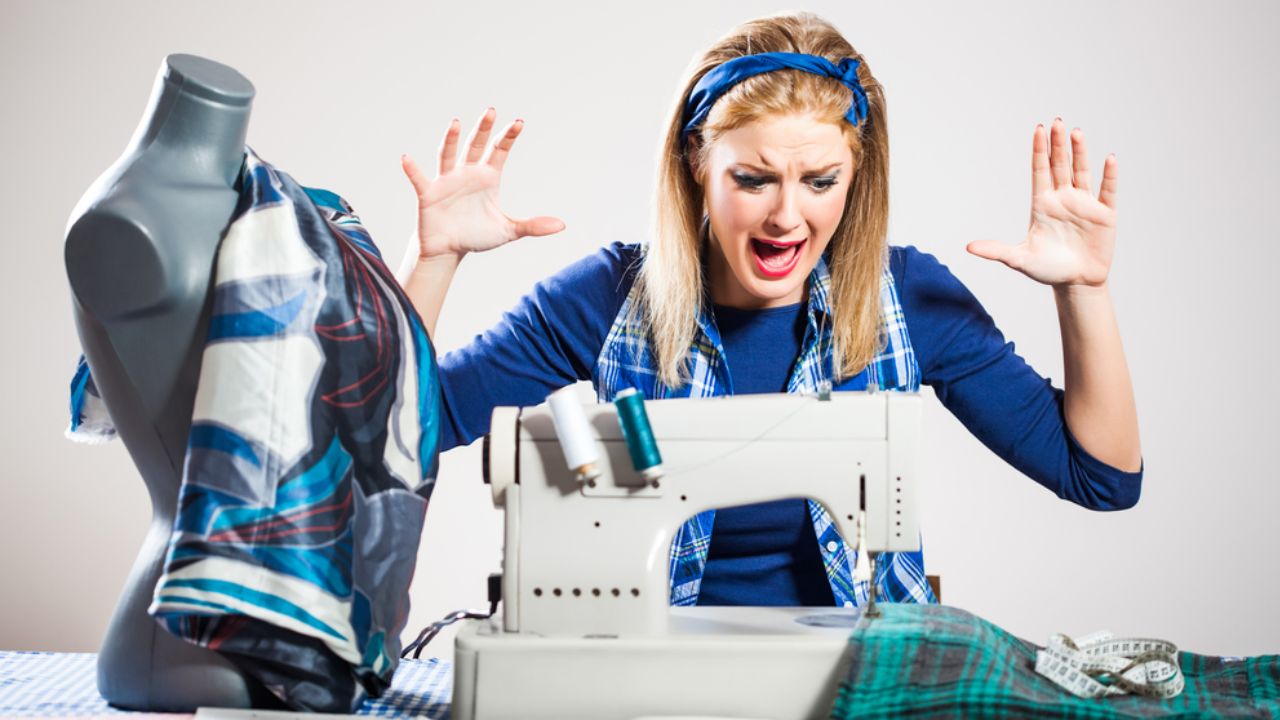
Do not skip the test stitch. Before you sew your actual fabric, sew a line on a scrap piece. Check your tension. Make sure the stitch looks even. Adjust if needed.
Do not cut fabric while it is folded unevenly. Lay your fabric flat. Smooth out all wrinkles. Make sure the grain is straight before you cut. Crooked cuts lead to twisted garments.
Do not sew over pins. This can break your needle and damage your machine. Remove pins as you go, or use clips instead.
Do not skip pressing. Every seam should be pressed flat before you sew the next one. This is not optional. Pressing makes seams lie flat and helps your garment look finished.
Do not expect perfection on the first try. Your first garment will have flaws. That is normal. The second one will be better. The tenth one will look professional .
Why These Projects Work for Fashionable Clothes?
None of these projects look like "beginner sewing." They look like clothes you would buy. The shirred dress looks like something from a summer boutique. The maxi skirt looks like a wardrobe staple. The camisole looks like a layering piece from a fashion store.
The difference is you made them. You chose the fabric. You adjusted the fit. You created something that exists because you decided to make it.
That is the real value of learning to sew. You stop being limited to what stores sell. You start making what you actually want to wear .
Conclusion
Pick one project from this list. Just one. Buy the fabric and supplies for that single project. Make it this weekend. Do not buy supplies for five projects. Do not plan a whole handmade wardrobe. That leads to overwhelm and unfinished projects.
Other Articles
Upcycled Coffee Mug with Cricut Joy