

Hi everyone, welcome to the blog today. Serene here from Sereneshandmade with a simple and heady new way to turn a simple MDF photo frame into a lovely Christmas wall decor. If you want, it can be used for displaying your photos too.
![]()
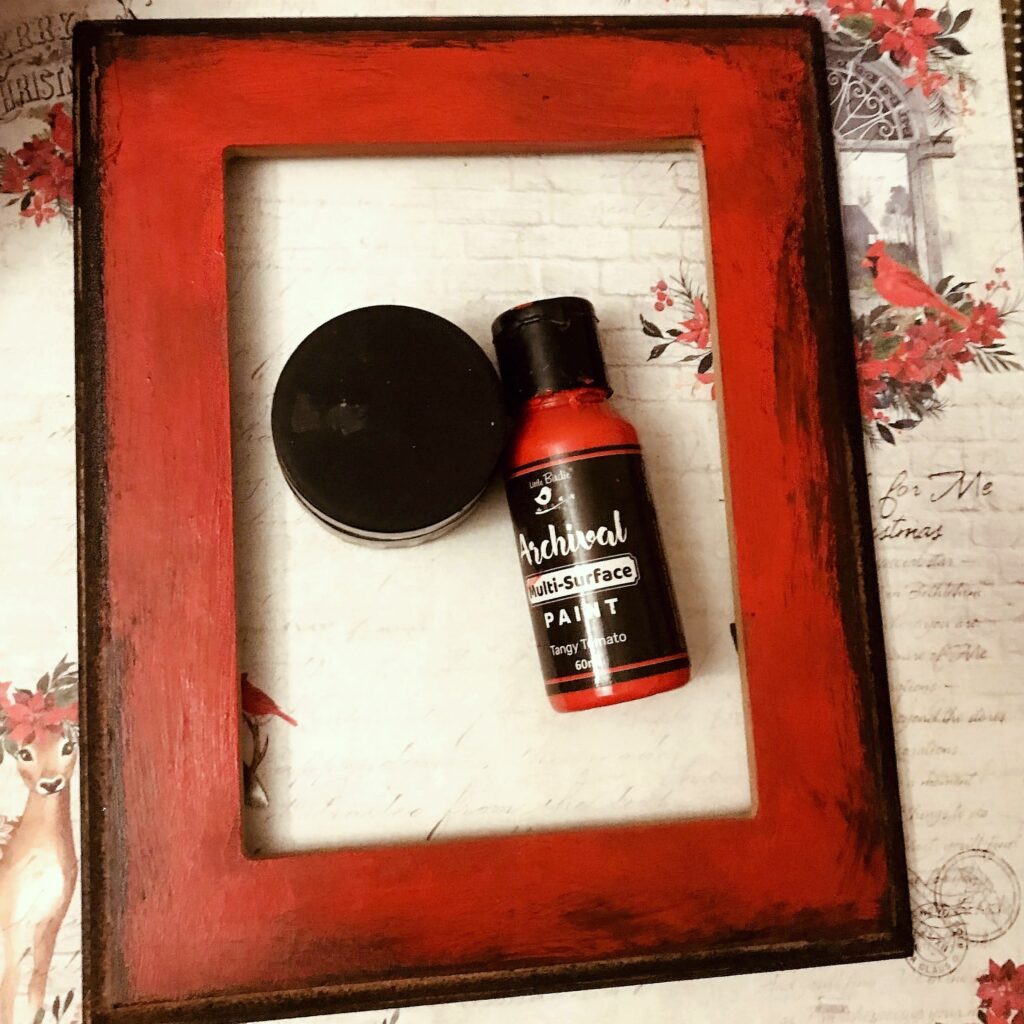
1.Take an MDF photo frame, separate the wiring and alimony aside.

2.Paint the top part with tabulated multi-surface paints -Tangy Tomato and the edges roughly with chalk paints Charcoal with some spillover to the red part.
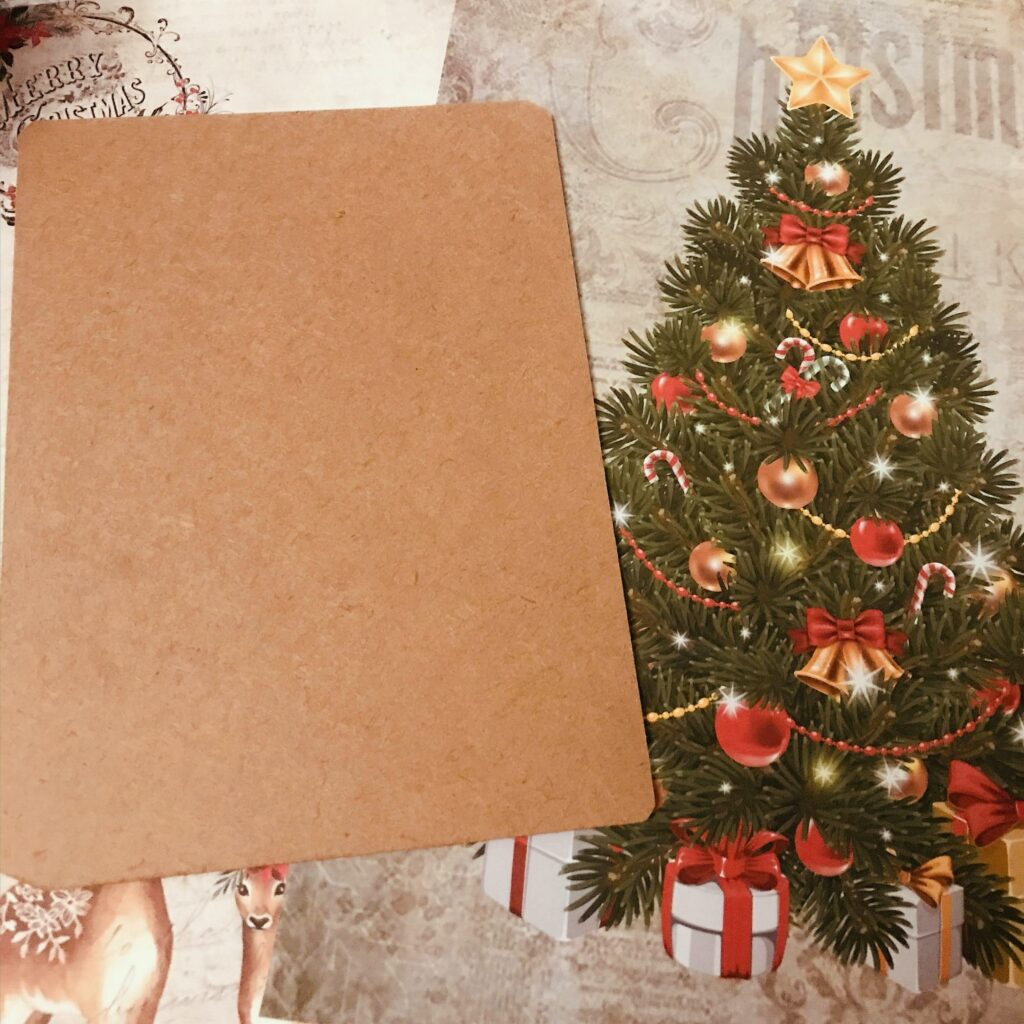
3.Take the rear side of the photo frame. Take the newly launched Christmas theme decopage paper Joyful Christmas, trace out and cut out equal to size.�
4.Apply a stratify of decoupage glue and MDF wiring and stick the decopage paper carefully. Apply a thin stratify of decoupage glue over it. Let dry.

5.Once dry, insert the decopaged part on the when of the frame.

6.Decorate the frame with a bow made from Christmas Tartan Ribbon, few pinecones, and� Glitter red Christmas Poinsettia with silicon glue.

Let it dry and the trappy Christmas decor frame is ready.

You can moreover add your photos to the frame if needed.
Do share your work on Instagram and tag @itsybitsycraftstore and @sereneshandmade.
A Merry Christmas and Happy New year to all of you.
Materials required�
MDF photo frame�
Decoupage paper Joyful Christmas
Glitter Poinsettia – Red
Small Pinecones�
Christmas Tartan Ribbon�
Other Articles

Financial planning for Moms!
Upcycled Coffee Mug with Cricut Joy


